
1. Scoping Features
The Scoping features, Item Database, Quantities and Applied Items can all be located on your diagram page once Estimate Mode is enabled.
2. Estimate Mode
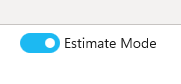
To enable Estimate Mode, select the Estimate Mode toggle in the top right-hand corner of the diagram page.
The Item Database, Quantities and Applied Items panels will appear around your diagram.
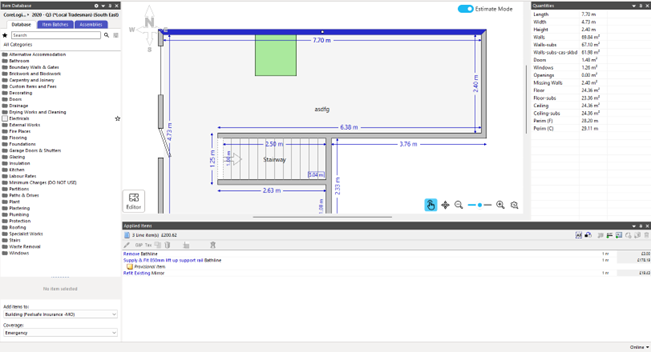
The placement of the panels is customisable, with users being able to pin/unpin, drag and drop and even close the panels to improve their view of Estimate Mode.

If you want your Estimate Mode panels returned to their original positions, you can reset your window layout. To do this select the View tab in the top left-hand corner of your Estimate ribbon followed by the Reset Window Layout button.

2.1 Favorites
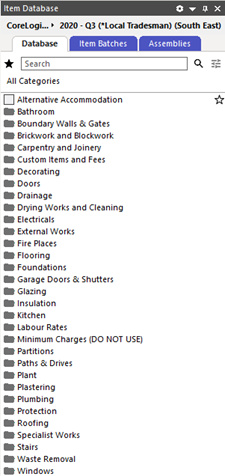
The Item Database Panel shows a list of all line items within the pricing database.
You can locate items by clicking into categories or by using the search feature at the top of the panel.
Items that are frequently used can be added to your favourites list to be found more easily when required.
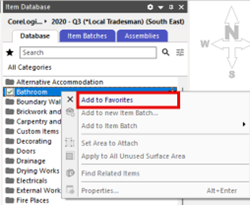
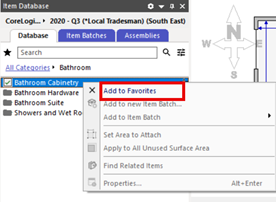
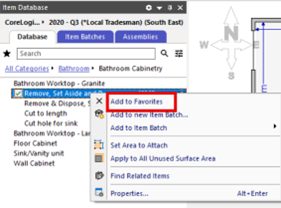
Individual items or entire categories can be added to the Favourites list. To do this, right click on the category, sub-category or line item and select Add to Favourites in the drop-down list that appears.
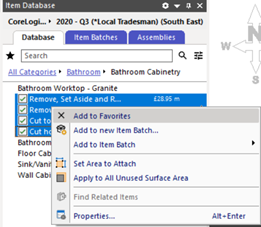
Multiple items can be selected at a time by selecting the tick boxes next to them and right-clicking.
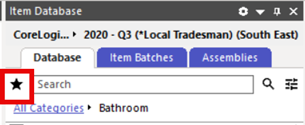
To retrieve your Favourites, click the star icon at the top of the Items Panel. Simply drag and drop the required items into the room.
2.3 Item Batches
Items that are frequently used together can be added to an Item Batch. This allows all the items to be added together, saving time searching for each individual line item.
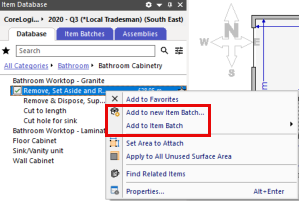
To add a line item to a new item batch, right-click on the line item you wish to add and select Add to new Item Batch.
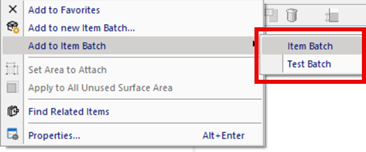
Alternatively, you can add the item to a pre-existing Item Batch by selecting Add to Item Batch.
When creating a new Item Batch, a pop-up will appear where you will need to name it.
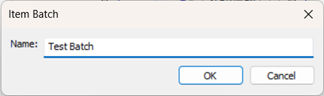
Select Ok to create your Item Batch and add your line item. The new Item Batch will now appear as a pre-existing Item Batch when you select Add to Item Batch.
To locate your Item Batches, select the Item Batches tab from the top of your Item Database Panel.
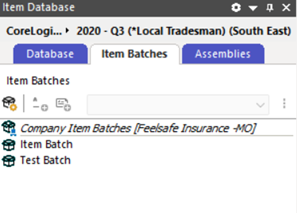
Drag and drop the Item Batch into your floorplan to add all the items within at once.
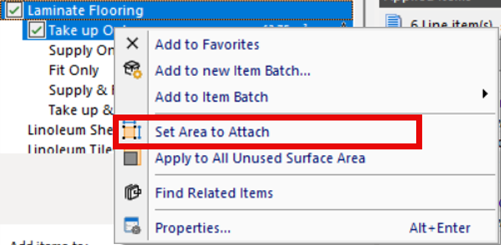
2.4 Set Area to Attach
If you do not want to apply an item to an entire wall or floor, you can use the Set Area to Attach feature. This will allow you to select the area you wish to apply the item to rather than amending the quantity afterwards.
Please note that this is not available for ceiling items, and you will be required to amend the quantity after the item has been applied.
To select the area, you wish to apply the item, right click on the line item and select Set Area to Attach.
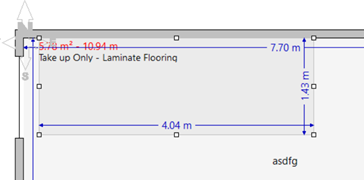
For floor items, once selected, click and drag on the floorplan to highlight the area you would like to add the item to. Once you have created this area, the item will show within the floorplan with the measurements.
For wall items, the Wall Editor needs to be enabled - see section 4 of this user guide for instructions on how to do so.
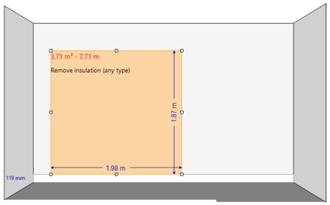
Once in Wall Editor, select the required line item, right click and select Set Area to Attach.

Then, click and drag on the wall to highlight the area you would like to add the item to. Once the area has been created, the item will show within the Wall Editor with the measurements.

Was this article helpful?
That’s Great!
Thank you for your feedback
Sorry! We couldn't be helpful
Thank you for your feedback
Feedback sent
We appreciate your effort and will try to fix the article